Content Linking and Duplicating
Overview
This guide provides instructions for linking Instructor-Led Training (ILT) content in MAXRES Construct. Linking content allows users to connect items across various parts of a course, ensuring consistency and efficient content reuse.
Objectives
By following this guide, you will:
- Link ILT content by copying the content location or using the search feature.
- Break links between content items when needed.
- Use the chain icon to view and explore linked content.
Requirements
- Platform Access: Permissions to manage and link content in MAXRES Construct.
Roles
This guide is designed for:
- Course Authors
- Instructional Designers
- Content Developers
Process
1. Adding Linked Content
Content can be linked in two primary ways:
- Copying the content location
- Using the search form
2. Copying the Content Location
-
Navigate to the Gear Icon
- In the content editor, click the gear icon on the content editor card.
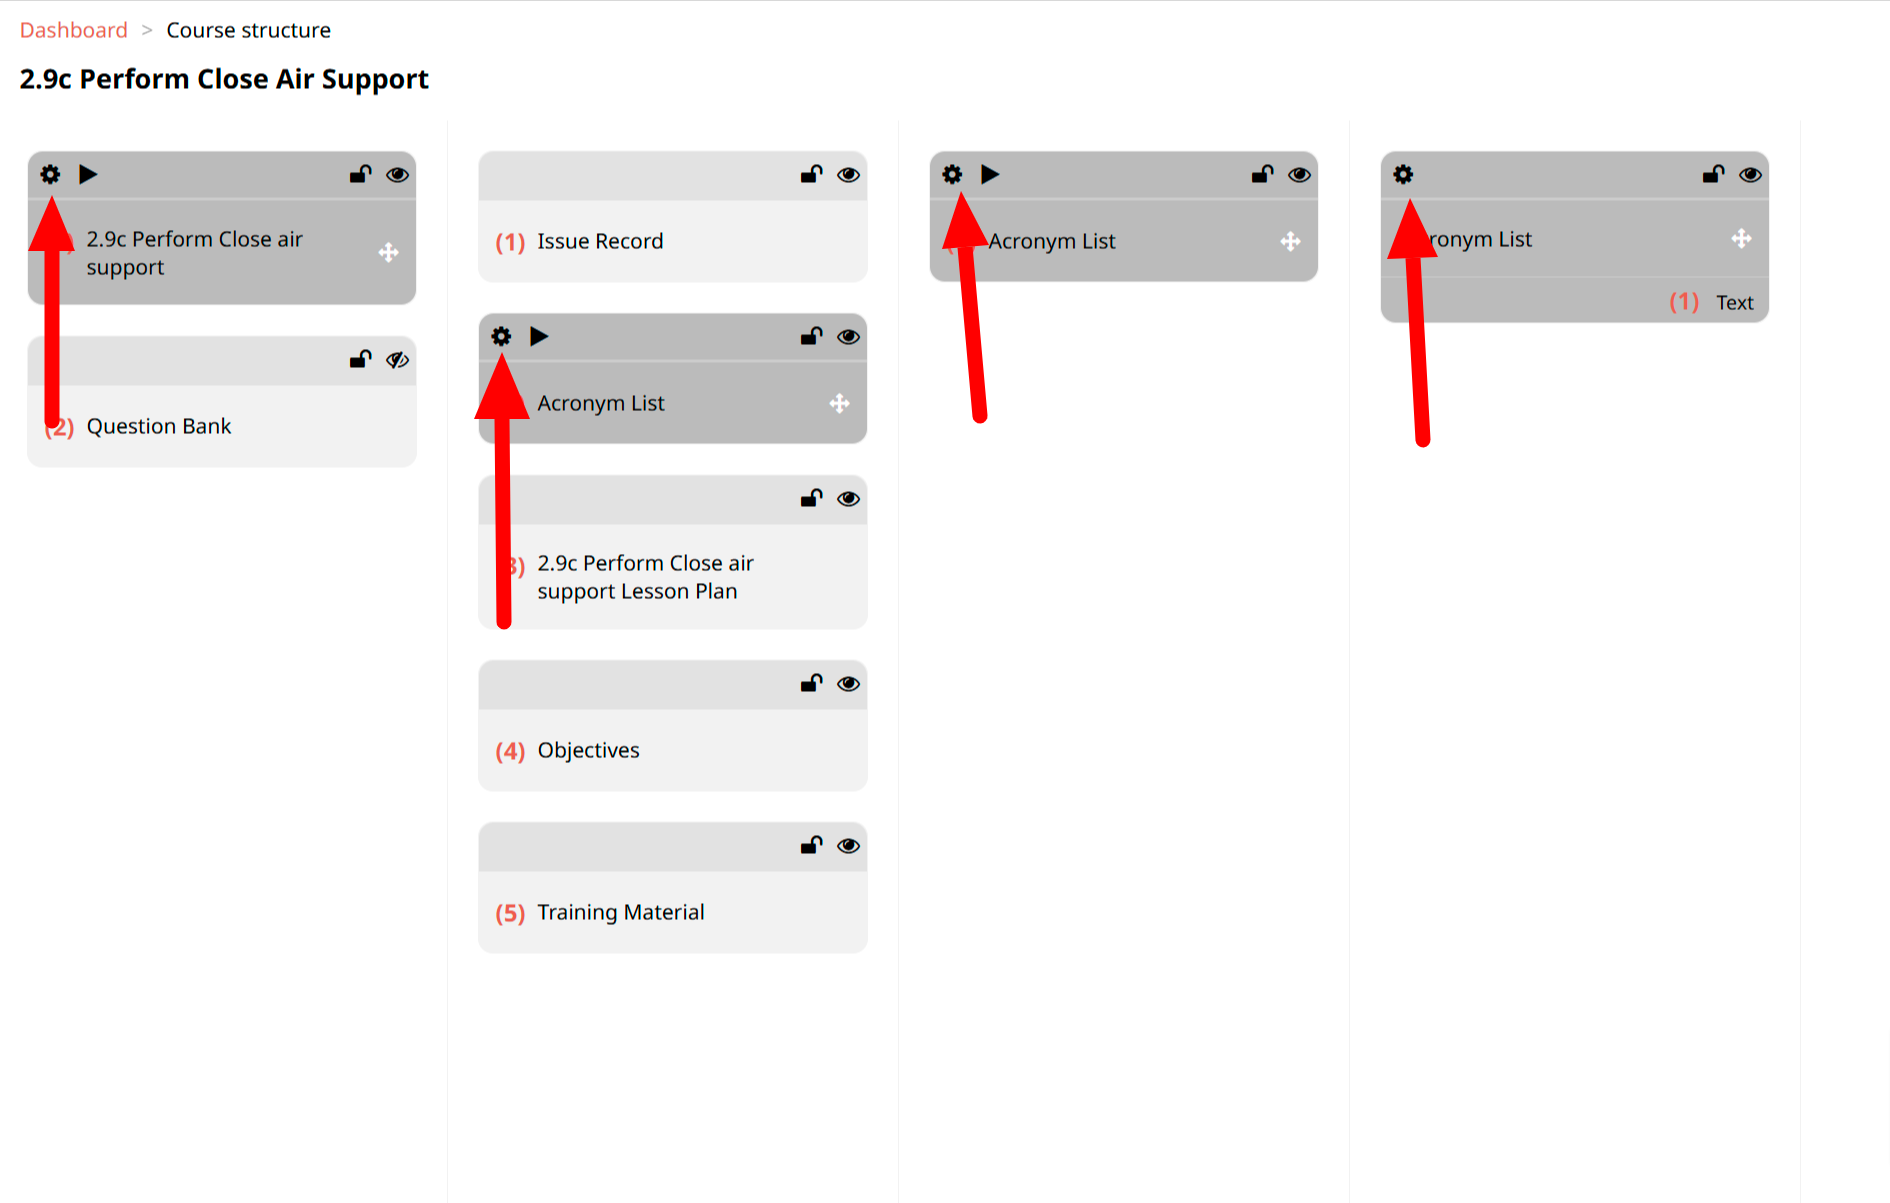 Fig. 1: Gear Icon
 -
Select Copy Location
- From the dropdown menu, click Copy Location to copy the content’s address.
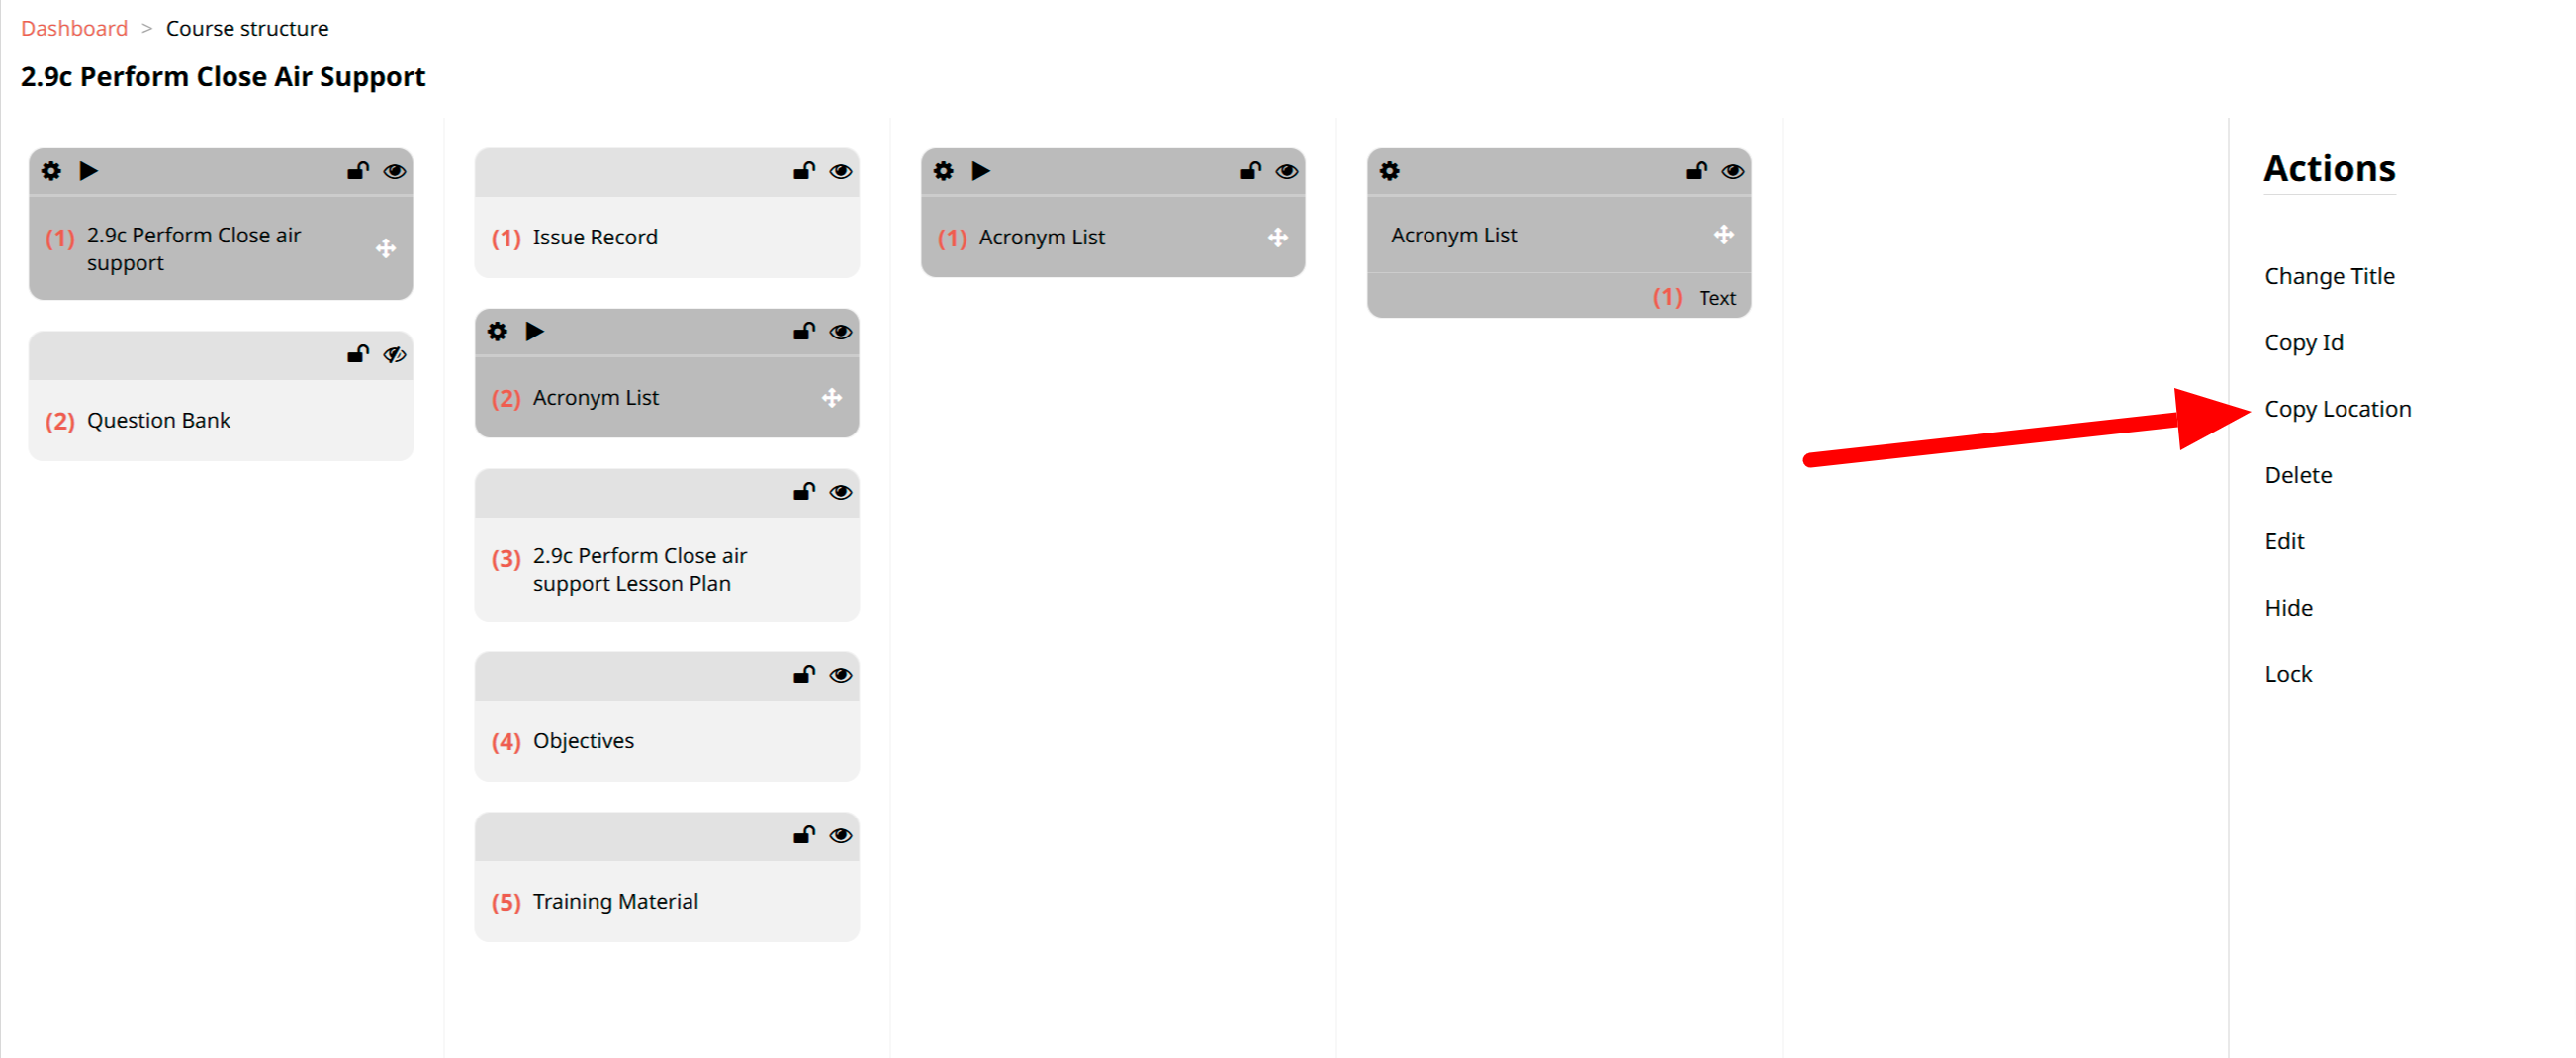 Fig. 2: Copy Location
 -
Add a New Content Item
- Depending on the type of content you’re linking, click Add Learning Object, Add TP, Add KLP, or Add Element.
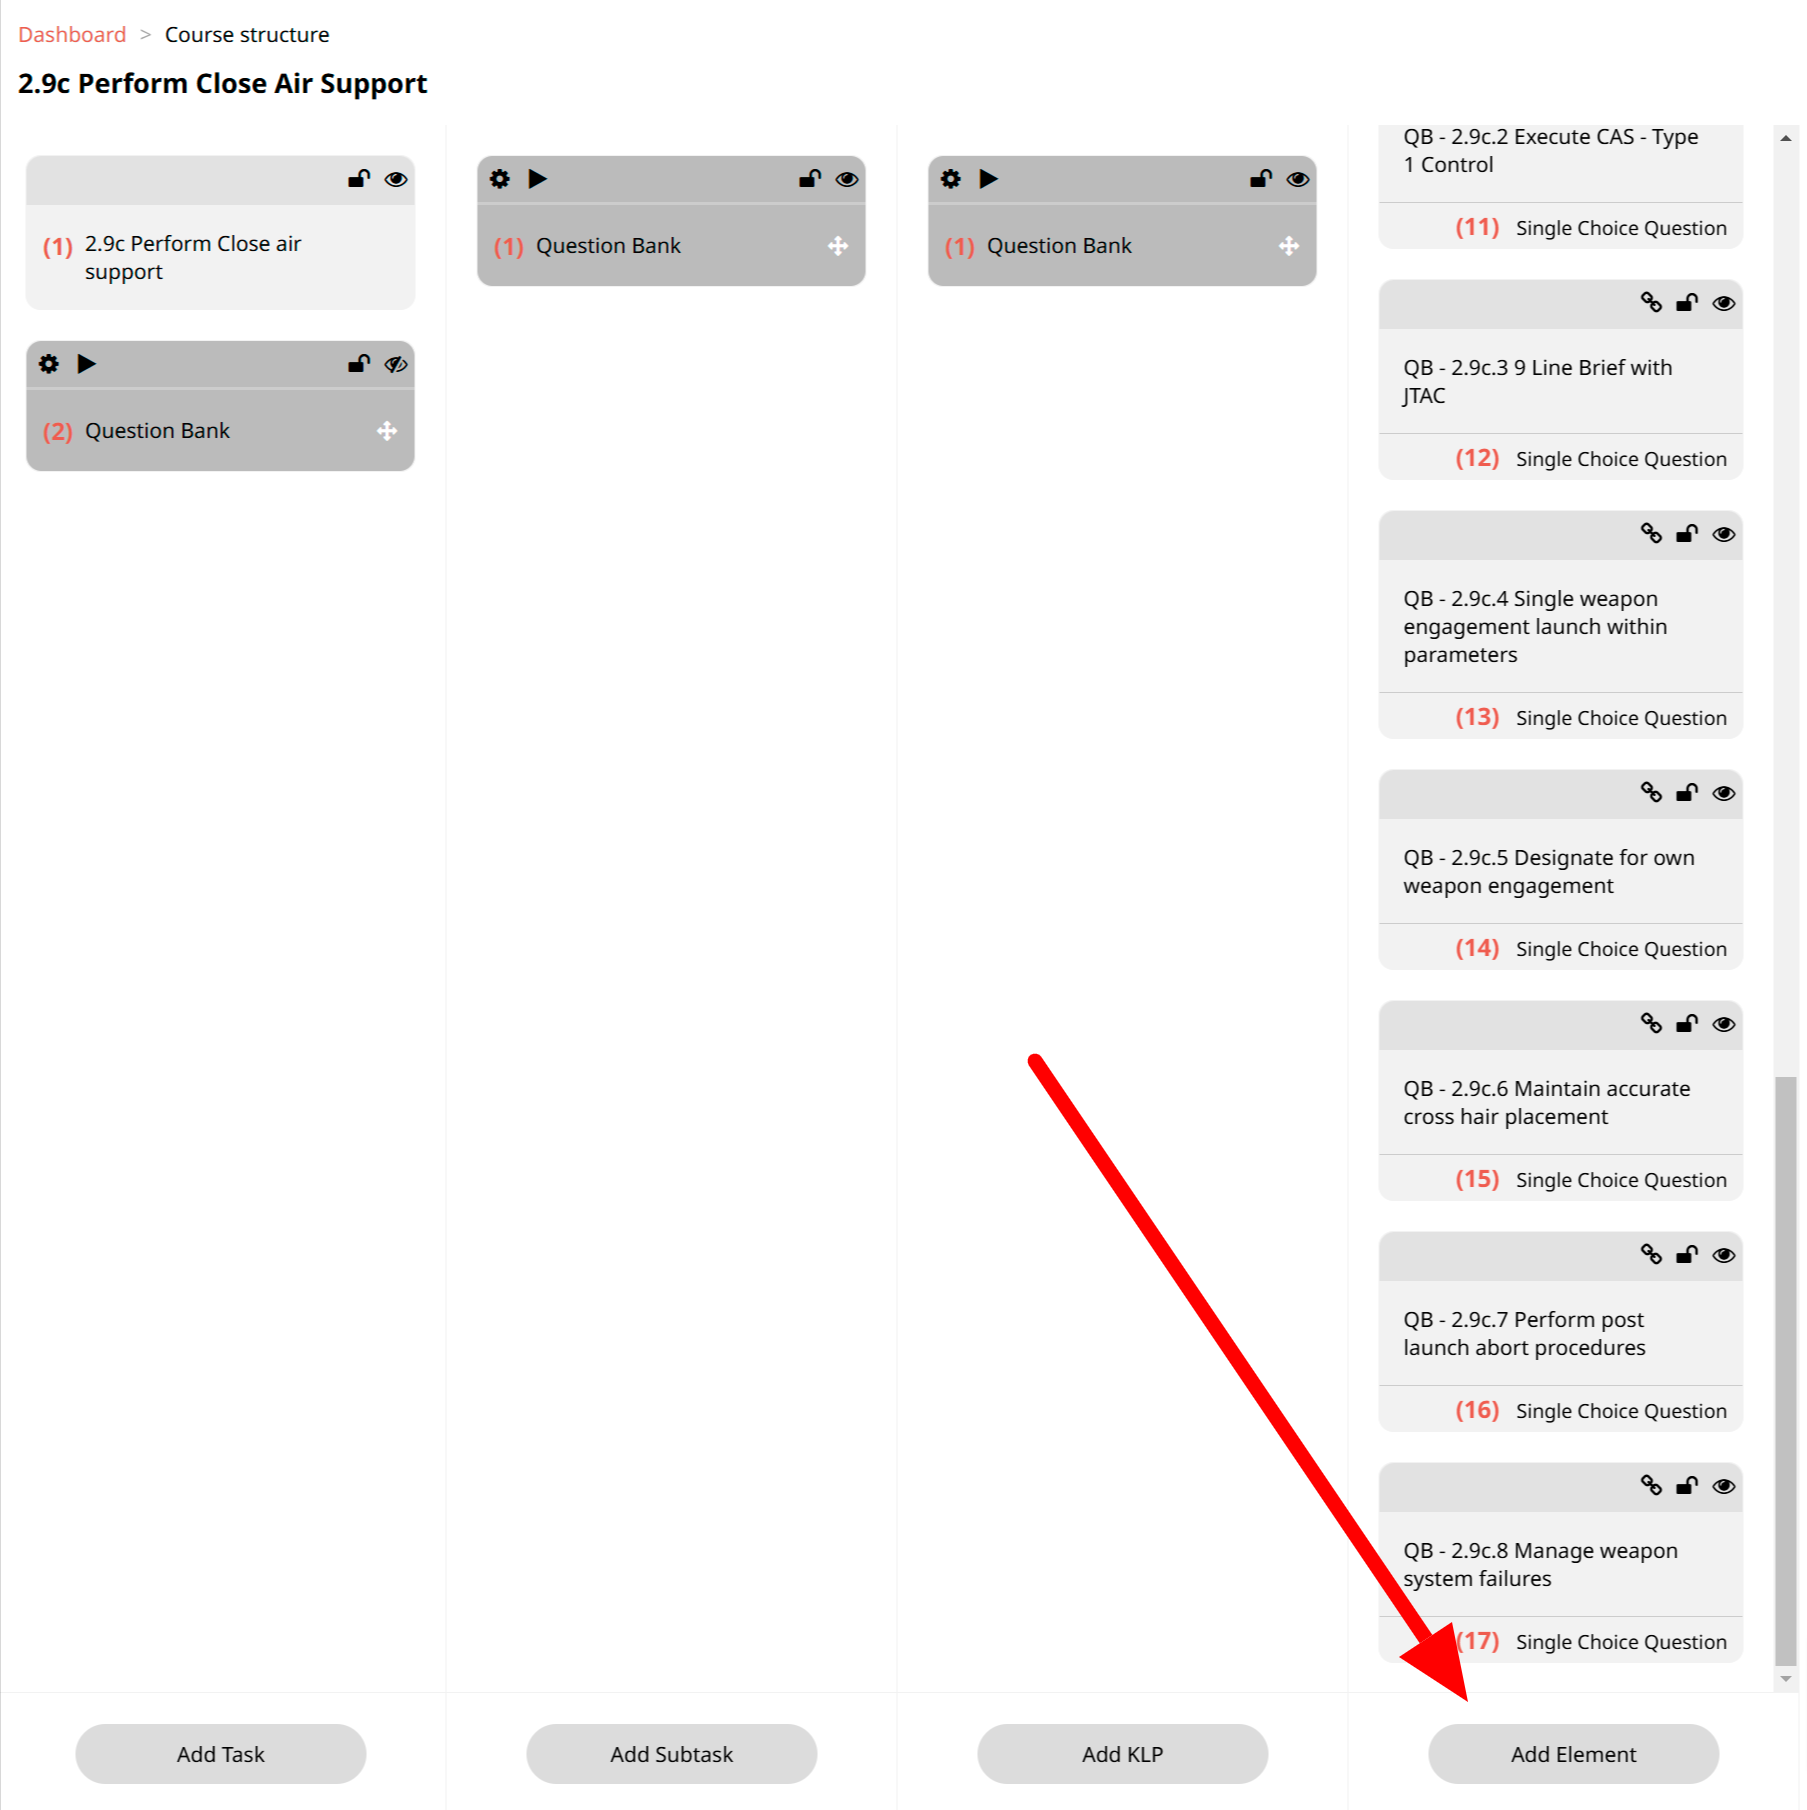 Fig. 3: Add Element
 -
Use the Link Button
- Click the Link button to start the linking process.
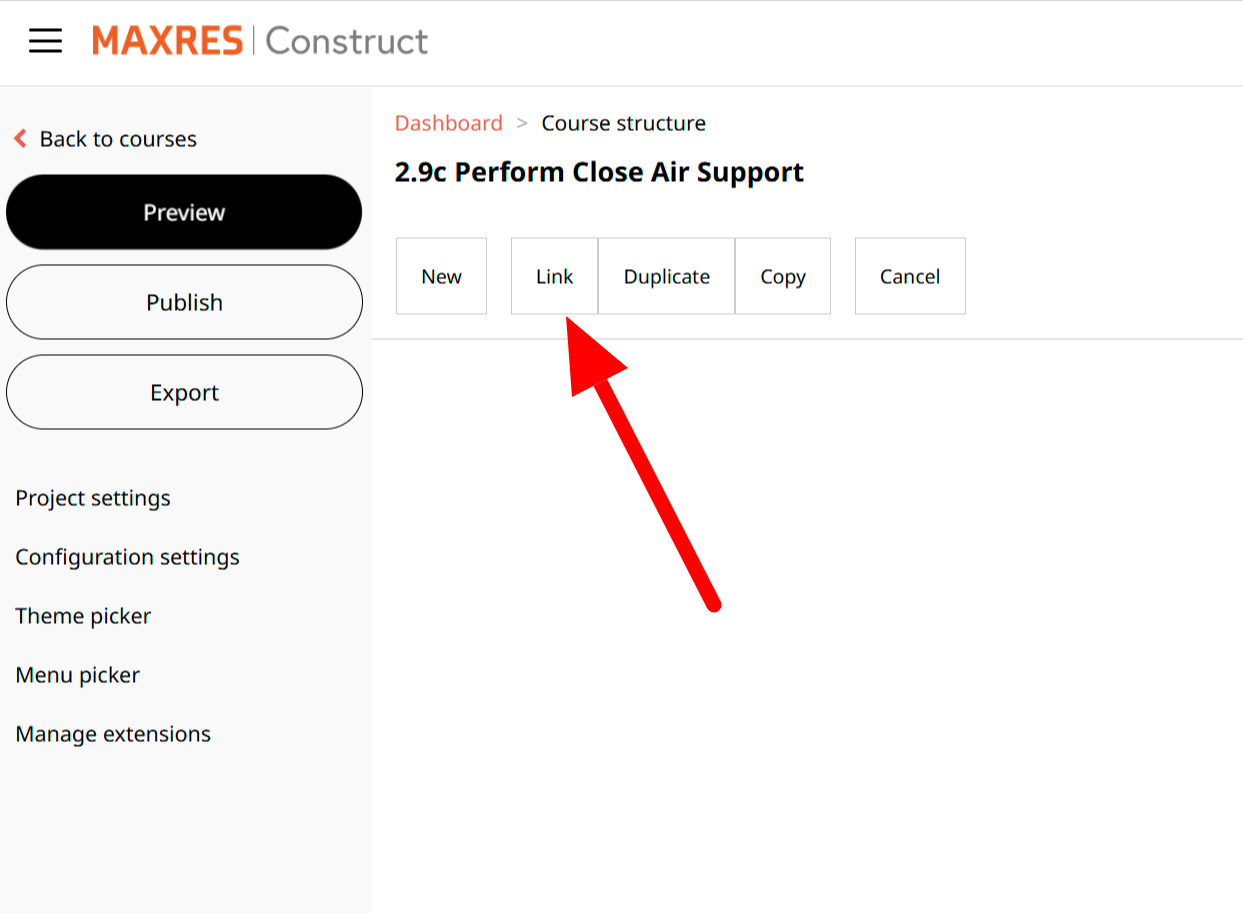 Fig. 4: Link Button
 -
Select the Use Selected Location Option
- Choose Use Selected Location and click Confirm to link the content.
 Fig. 5: Use Selected Location
The linked content will appear at the top of the content list, marked with a chain link icon to indicate its linked status.
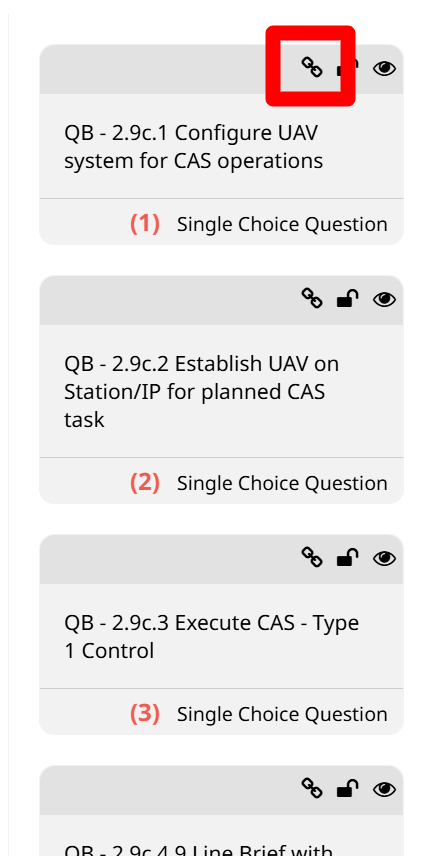 Fig. 6: Linked Item
3. Linking Using the Search Form
-
Add a New Content Item
- Click Add Learning Object, Add TP, Add KLP, or Add Element, depending on what you’re linking.
Fig. 7: Add Element -
Use the Link Button
- Click the Link button to start the linking process.
Fig. 8: Link Button -
Select the Use Search Option
- Choose Use Search and input the relevant content item name in the search fields (e.g., Select Course, Select Page, Select Article, Select Block, or Select Component). Click Confirm once the correct item is found.
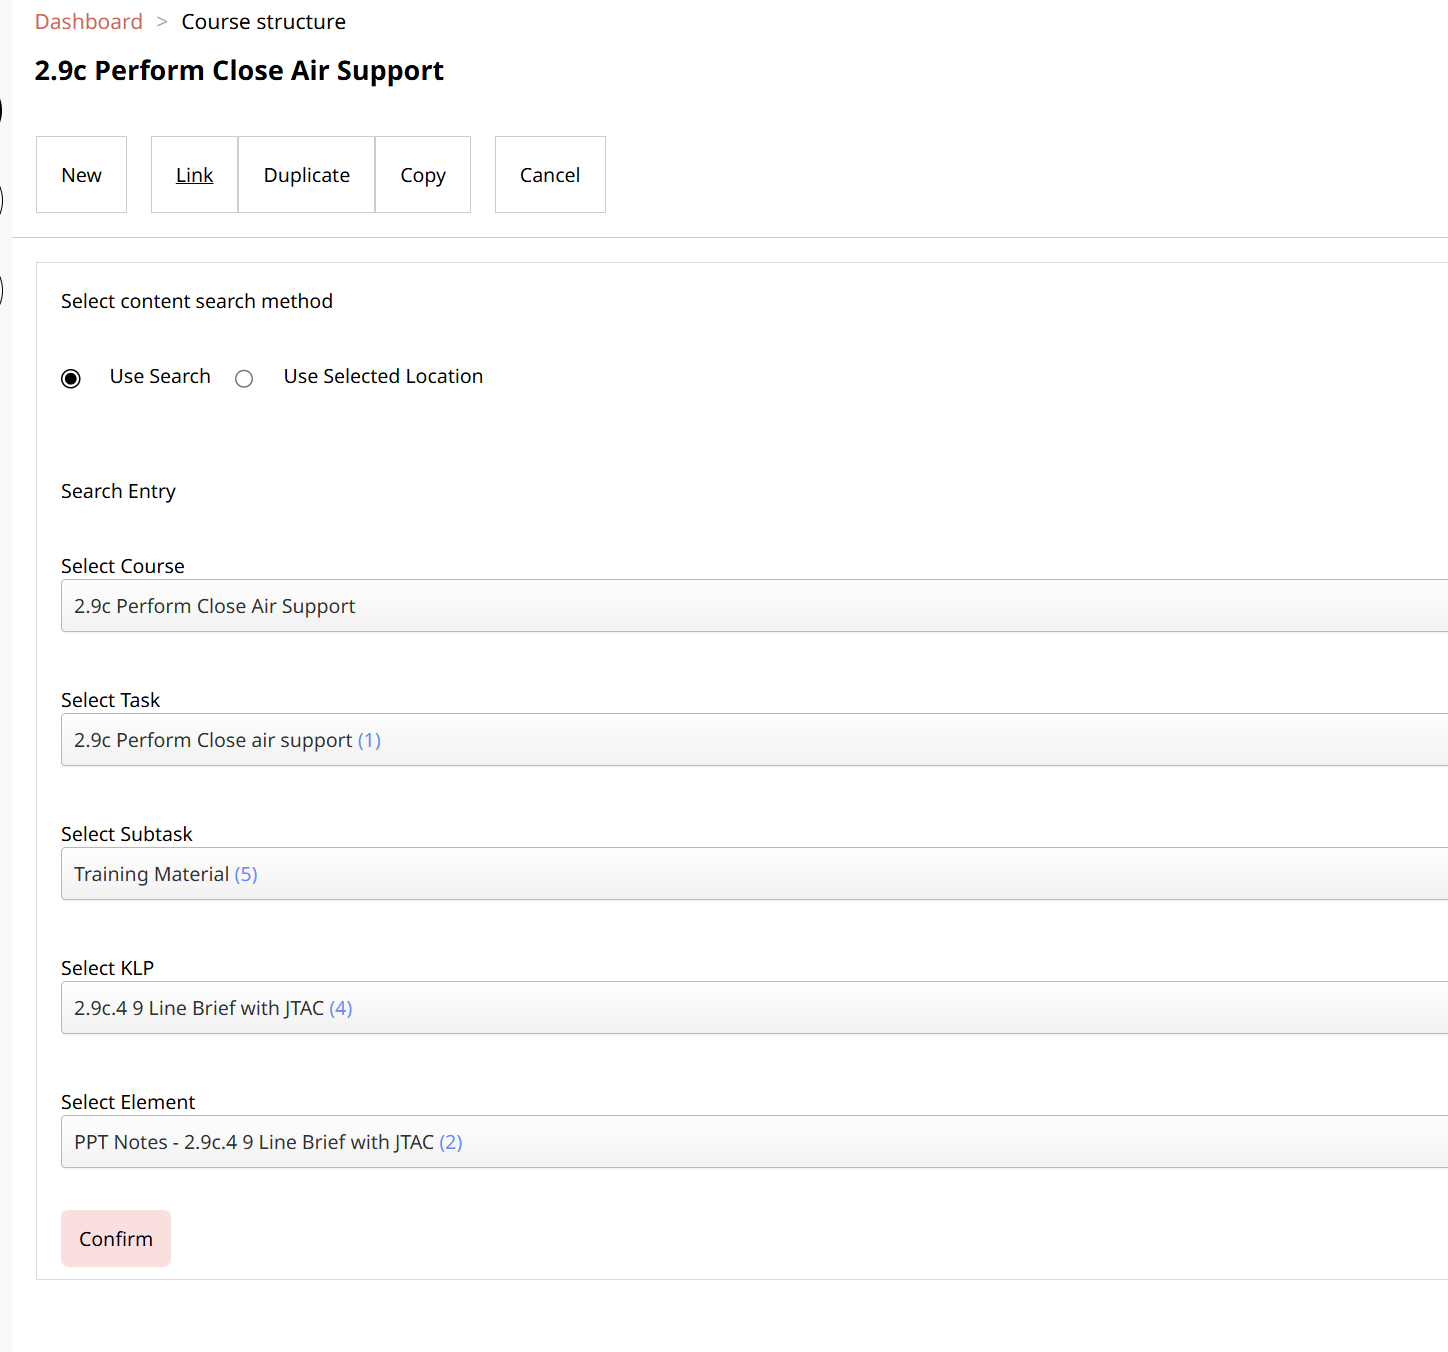 Fig. 9: Use Search Option
The linked content will appear at the top of the content list, marked in red to show its linked status.
Fig. 10: Linked Item
4. Breaking the Links
-
Navigate to the Gear Icon
- To break a link, click the gear icon in the editing view.
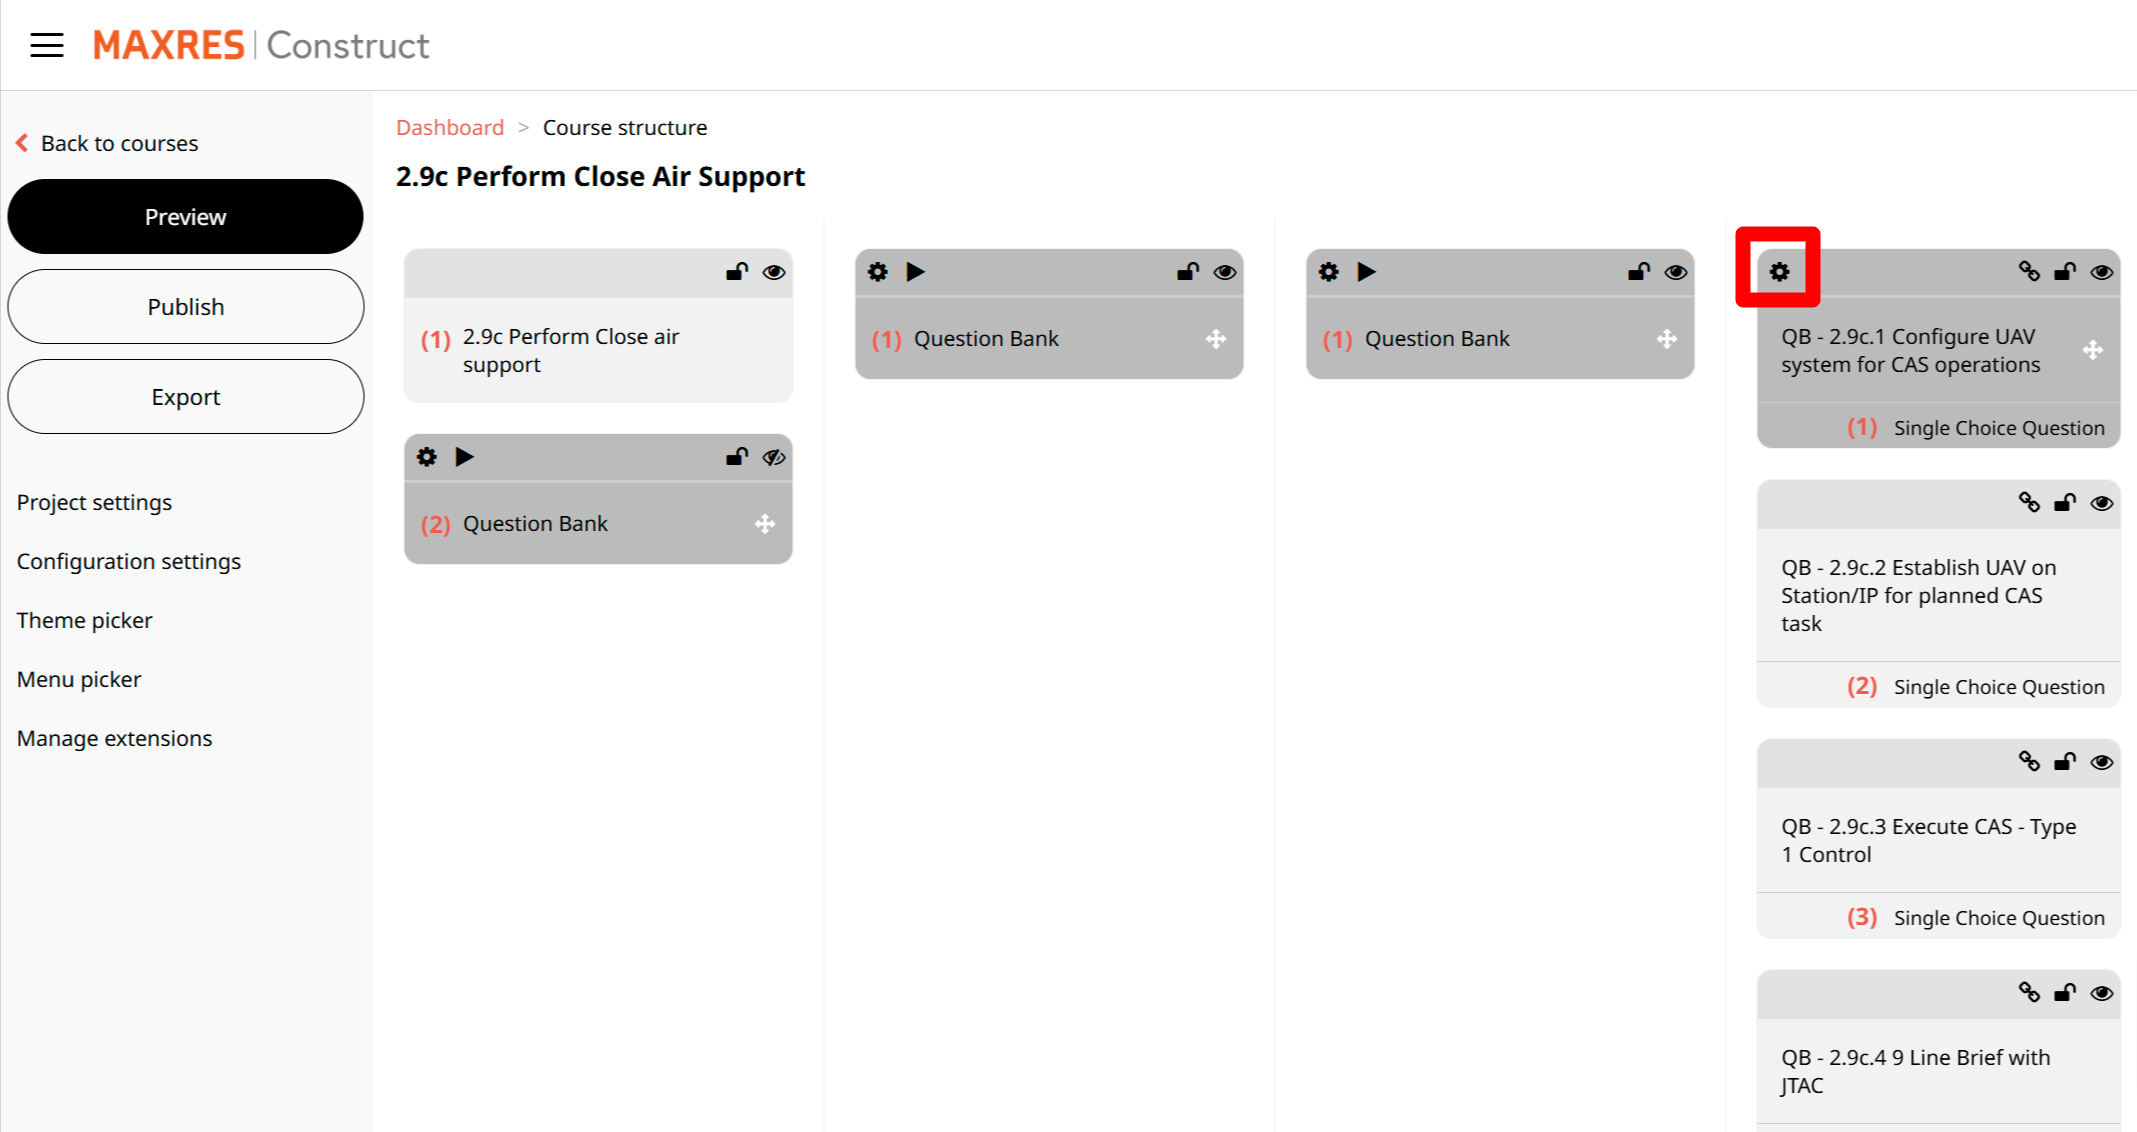 Fig. 11: Gear Icon
 -
Select Break Link
- Click the Break Link button to start unlinking.
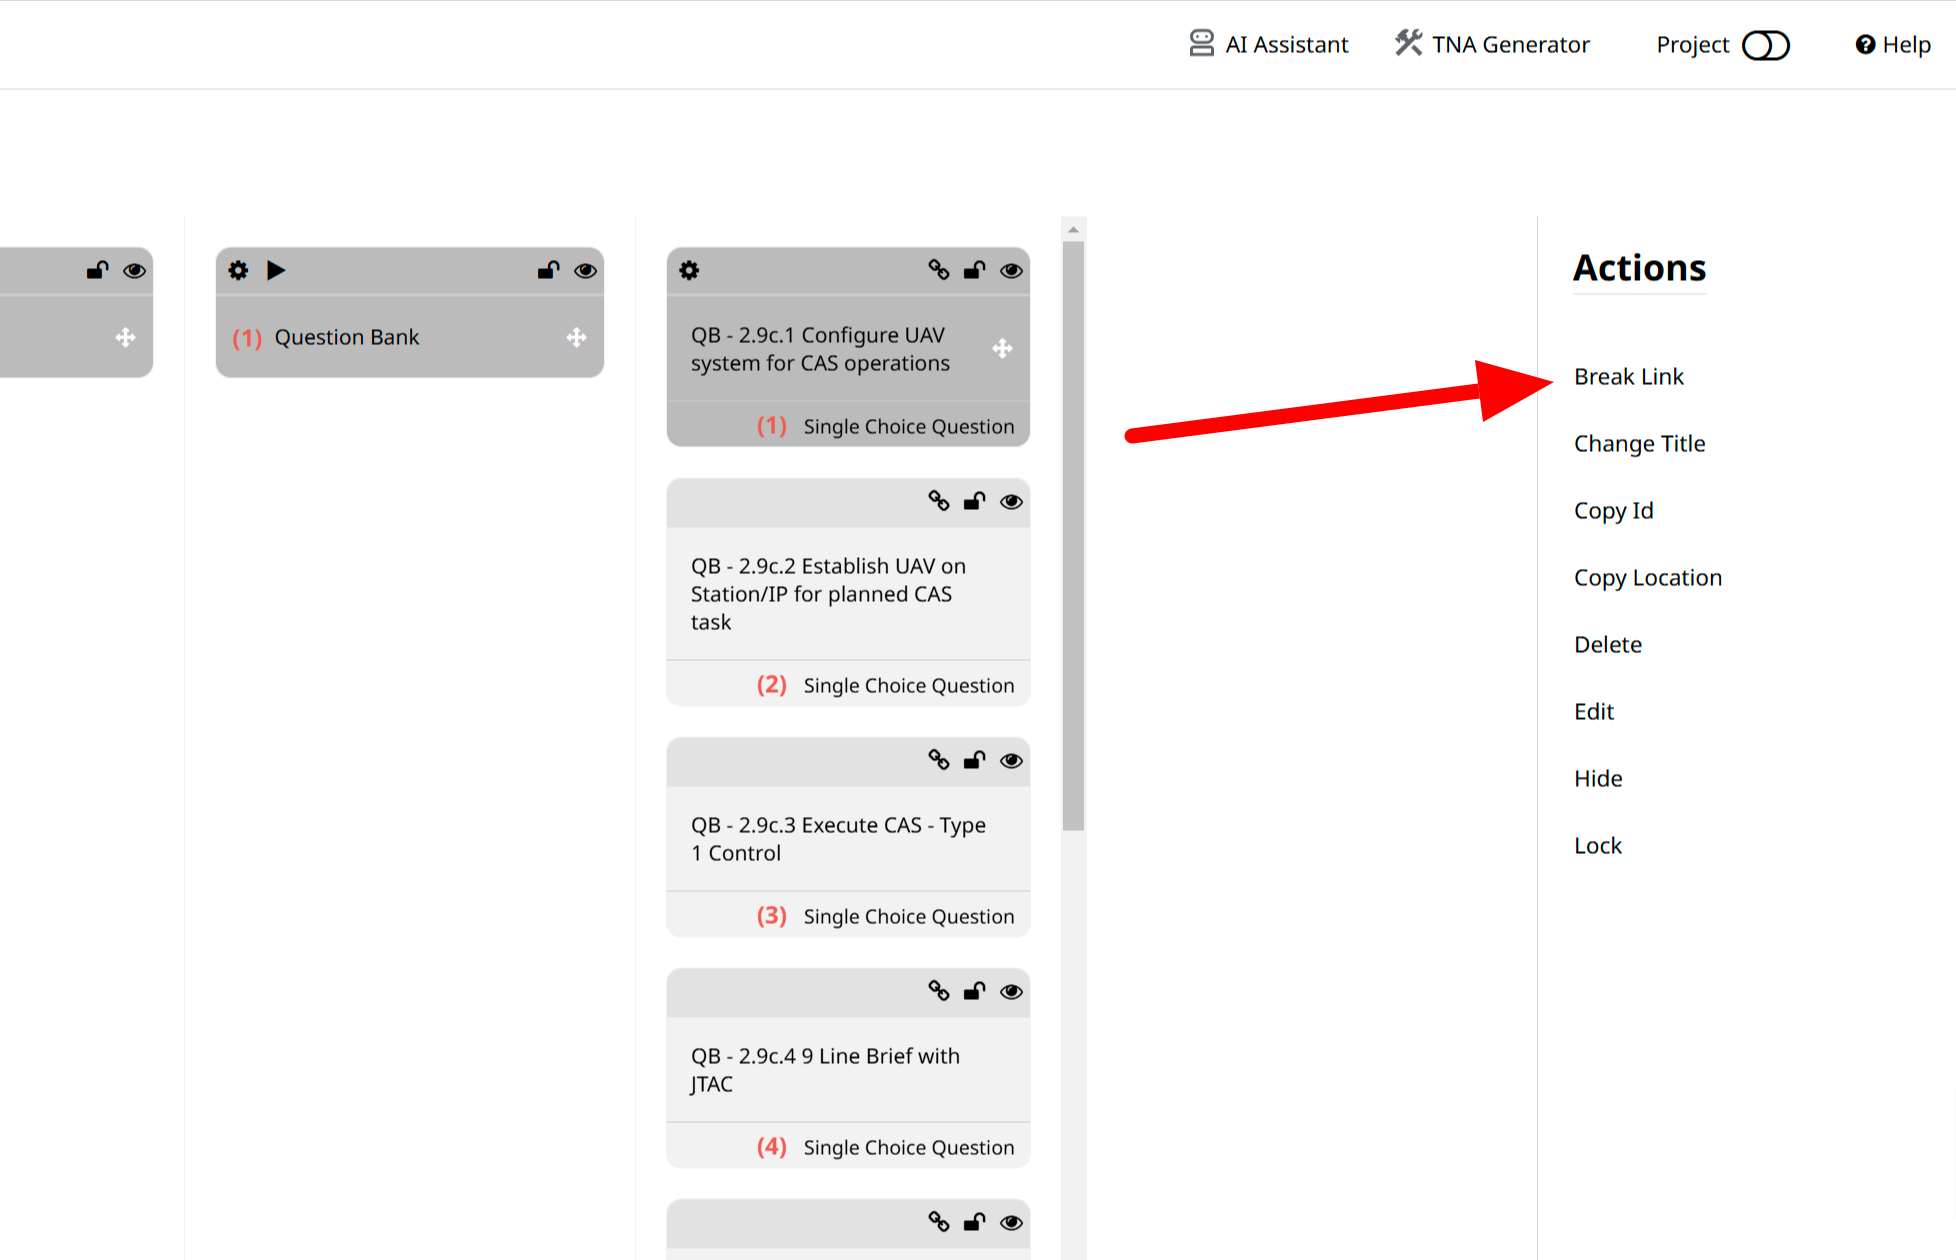 Fig. 12: Break Link
 -
Unlink the Content
- The search form will display all linked content. Uncheck the relevant boxes or use Uncheck All to unlink everything. Click Confirm to finalize or Cancel to discard changes.
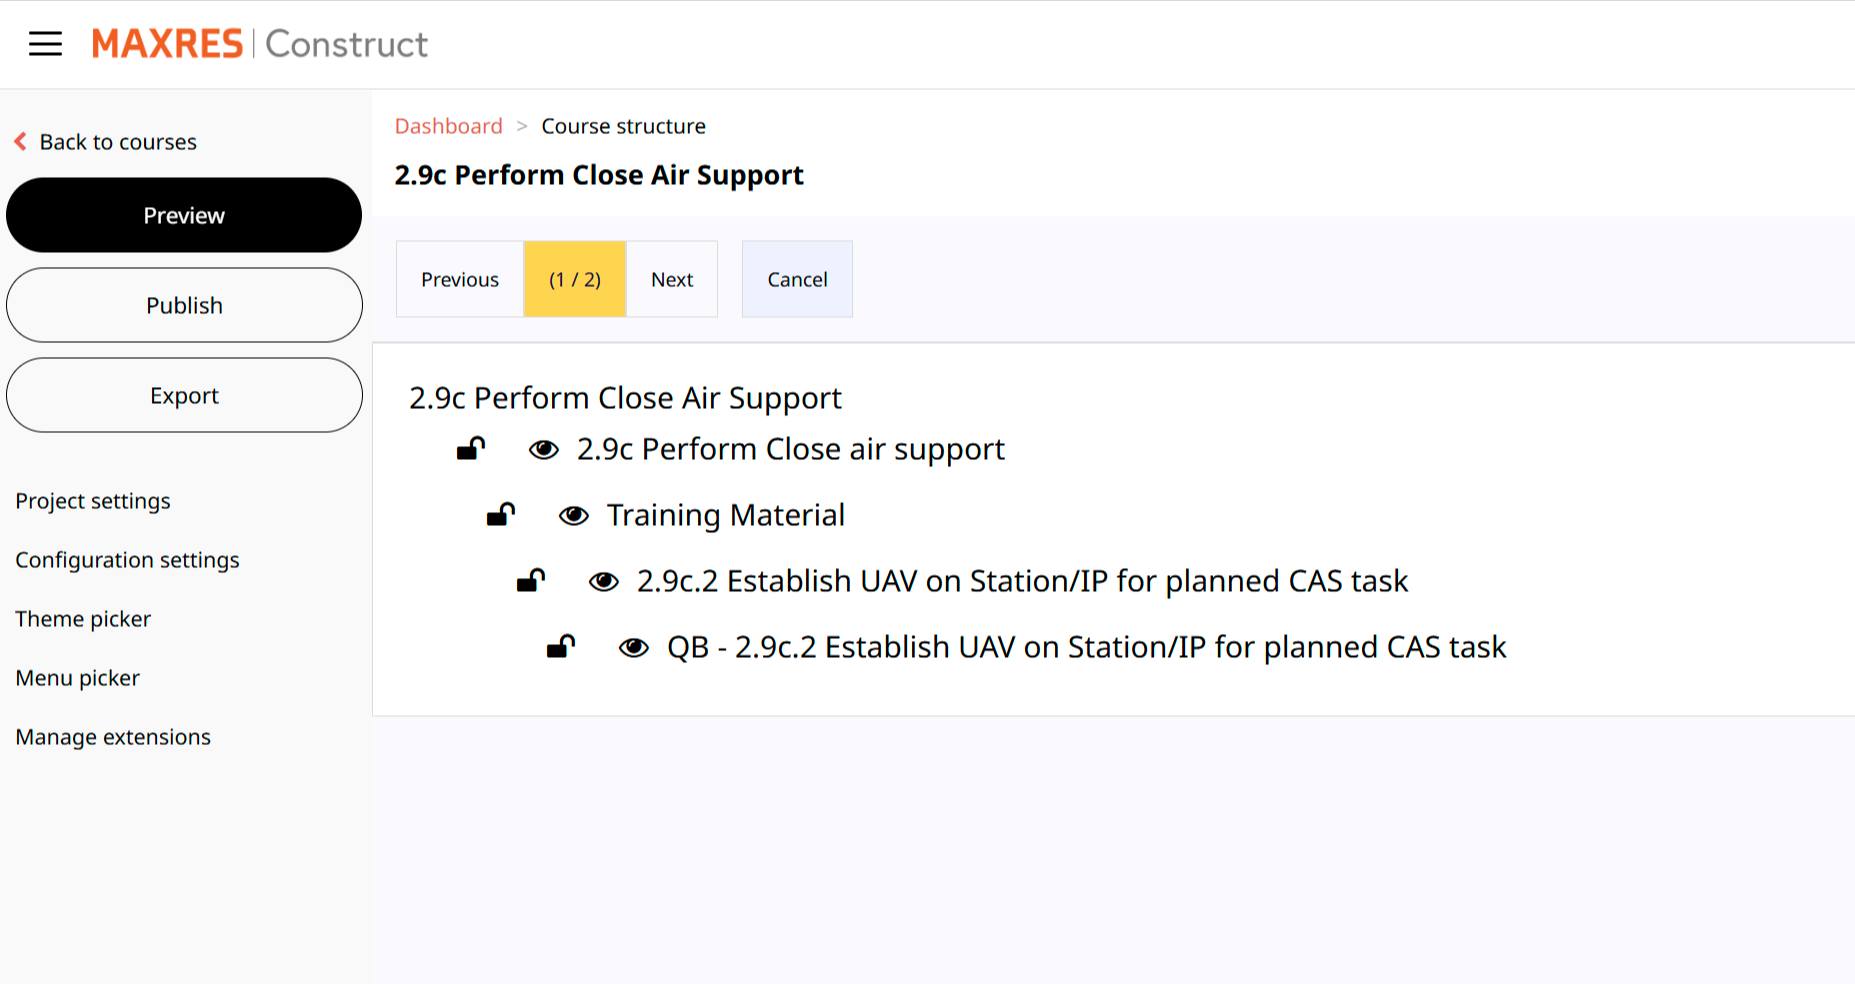 Fig. 13: Link Explorer
5. Using the Chain Icon
-
View Linked Content
- Click the chain icon on a linked content item to view where the content is linked.
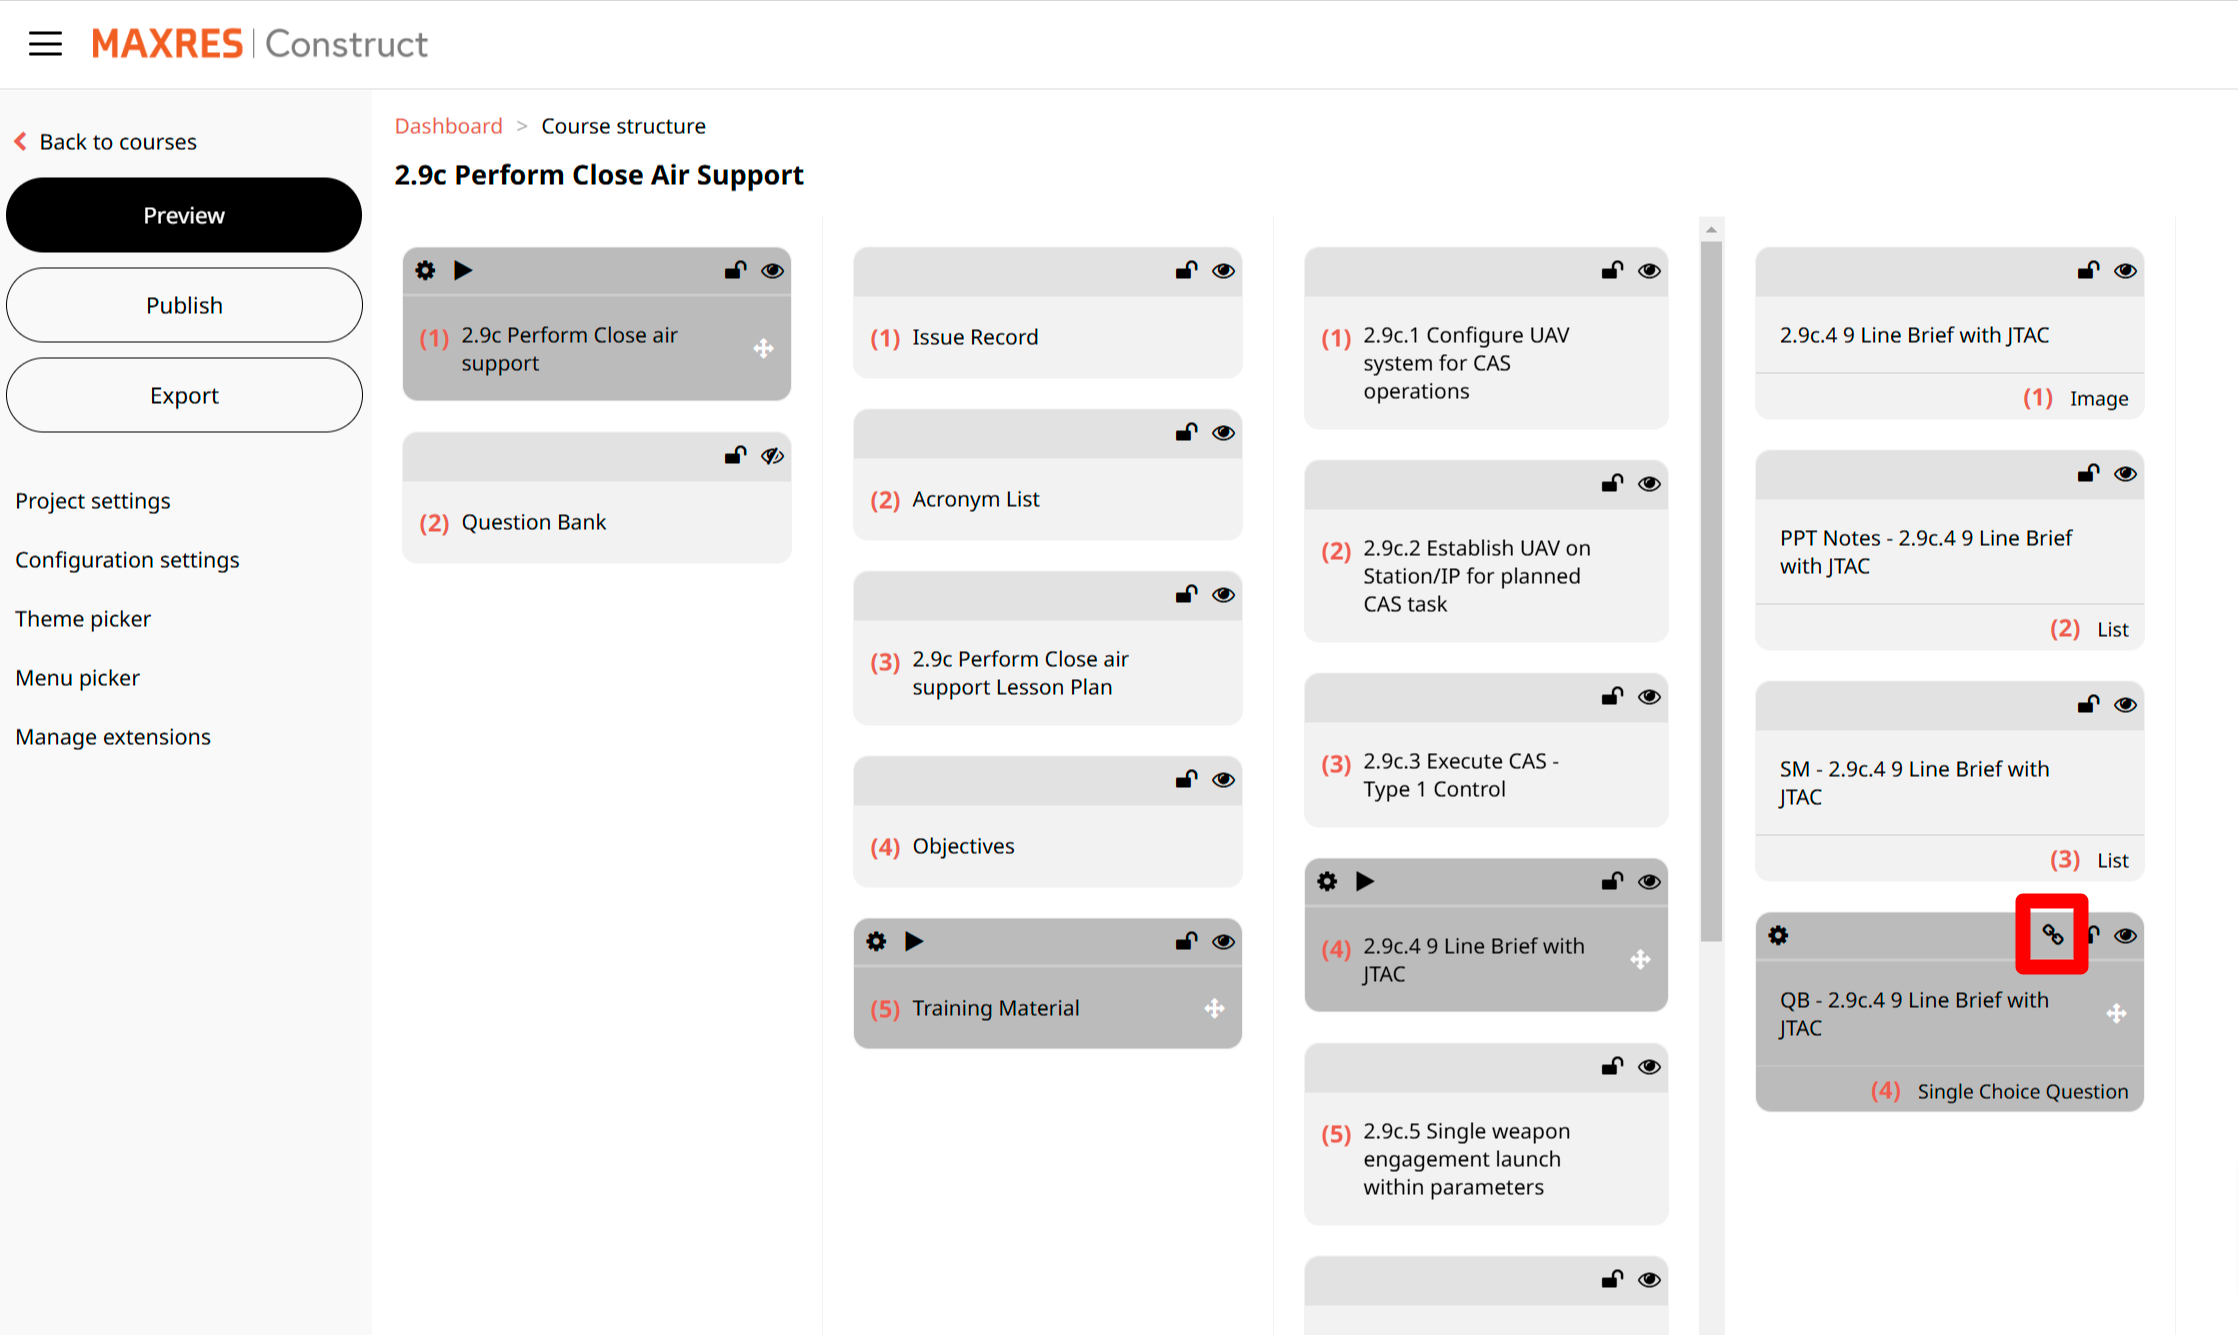 Fig. 14: Chain Icon
 -
Use the Link Explorer
- In the Link Explorer, click on content item names to view the URL links of the linked content items.
Fig. 15: Link Explorer